
Everything You’ll Need
Tool | Luxury Vinyl Plank (LVP) | Luxury Vinyl Tile (LVT) | Sheet Vinyl |
---|---|---|---|
Utility Knife | ✔ | ✔ | ✔ |
Tape Measure | ✔ | ✔ | ✔ |
Straight Edge | ✔ | ✔ | ✔ |
Pry Bar | ✔ | ✔ | ✔ |
Spacers | ✔ | ✔ | ❌ |
Tapping Block | ✔ | ❌ | ❌ |
Non-Marring Hammer | ✔ | ❌ | ❌ |
Squeegee | ❌ | ✔ | ❌ |
Grout Float | ❌ | ✔ | ❌ |
Notched Trowel | ❌ | ✔ | ✔ |
Floor Roller | ❌ | ❌ | ✔ |
Heat Gun | ❌ | ❌ | ✔ |
Seam Roller | ❌ | ❌ | ✔ |
Step 1: Prepare the Space
Take Away Baseboards and Old Flooring
Start by taking out any baseboards and old flooring. This makes the floor ready for new vinyl planks.
Use a pry bar for the baseboards, and be careful with the walls.
If there’s carpet, cut it into pieces with a utility knife and pull it up. Use the right steps for other flooring types.
Clean the Subfloor and Fix Any Cracks or Uneven Spots
Sweep and vacuum the subfloor well to clear dirt and debris. Look for cracks or uneven spots.
Fill gaps with a leveling compound, and sand high spots to make it even.
Add Underlayment for More Comfort and Quiet
Adding underlayment isn’t always needed, but it can make the floor softer and quieter.
If you use it, roll it out on the subfloor and stick it down with tape, making sure there are no gaps.
Step 2: Pick a Pattern or Design
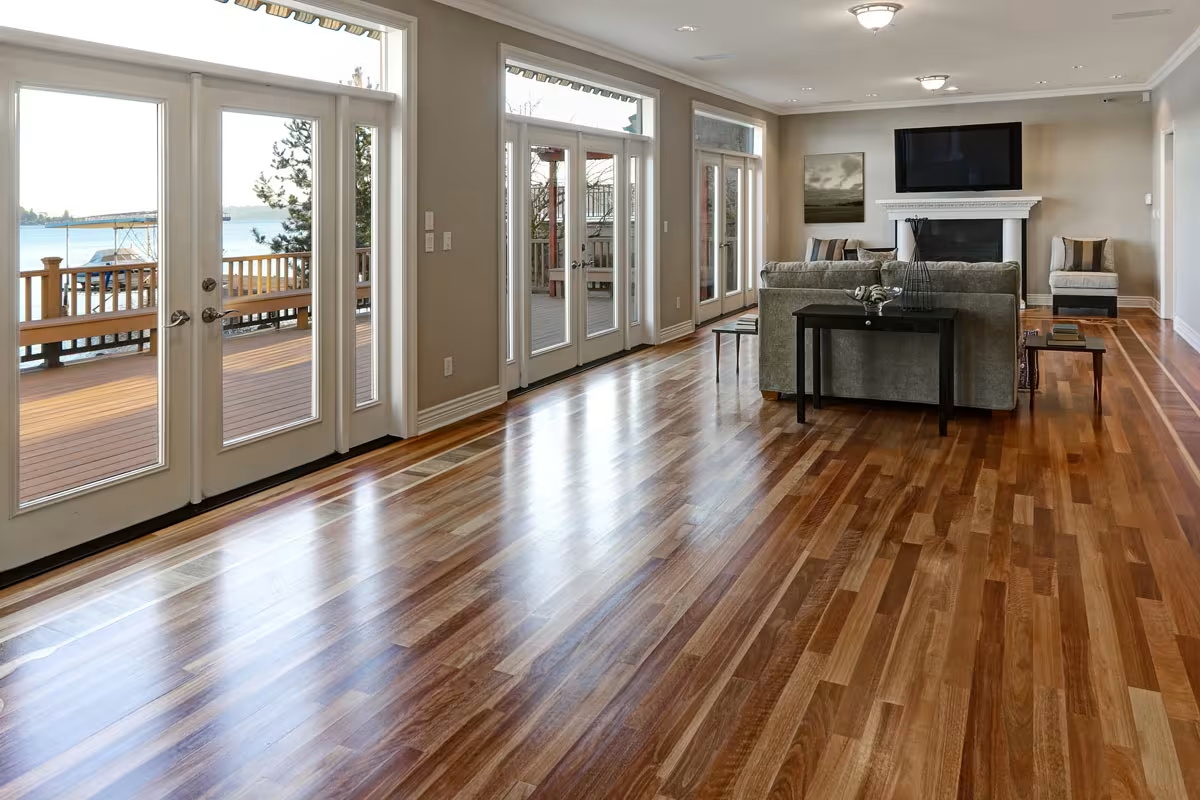
Vinyl floor patterns provide many ways to make your space look nice.
These patterns can be traditional or modern, helping you create unique floors that match your style.
Check out some popular vinyl flooring patterns to see how they can improve your home.
Straight Lay Pattern

The straight lay pattern is simple for vinyl floors. Planks are placed parallel, following the walls. This makes a neat look, perfect for any room.
Diagonal Pattern

For a lively look, try a diagonal pattern. Planks are placed at 45-degree angles, adding movement and depth. It can make small rooms seem bigger.
Herringbone Pattern

The herringbone pattern is a classic choice. Planks are laid in a zigzag, making a V-shape. This pattern adds texture and looks great in any room.
Chevron Pattern

The chevron pattern is another trendy option. Planks are placed in a zigzag without changing direction. This adds a modern touch.
Parquet Pattern
Step 3: Choose an Installation Method
Vinyl plank flooring can be installed in different ways. Each way has its own pros and cons based on the type of vinyl and how you want to install it.
GripStrip Method

GripStrip, also called peel-and-stick, is easy for DIY projects. Each plank has a sticky back. You just peel the film and stick it to the floor.
This works best with Luxury Vinyl Plank (LVP) flooring, which is thicker and stronger for the sticky back.
It’s not great for thinner or bendy vinyl like Luxury Vinyl Tile (LVT) or Sheet Vinyl.
Click-Lock Method

Click-Lock, or floating installation, uses planks that snap together tightly without glue. The floor “floats” over the base, adjusting to temperature and moisture changes.
This is good for LVP and LVT flooring and some Sheet Vinyl types.
Take Note:
- Follow the manufacturer’s instructions for aligning and locking planks to avoid gaps.
- Use spacers by the walls to keep the right gap for floor movement.
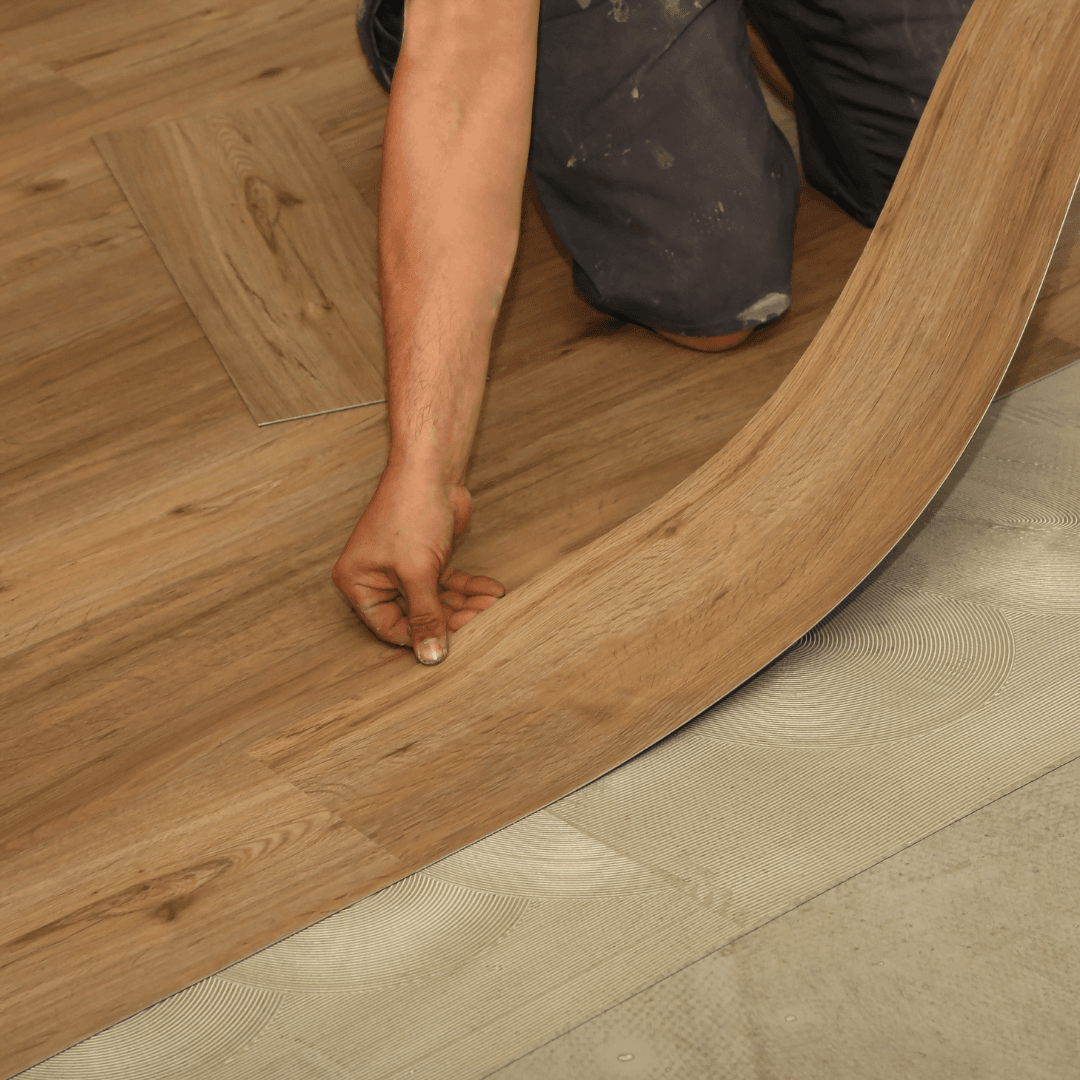
Glue-Down Method

Glue-down installation uses adhesive on the floor, then you press the vinyl planks in place.
This gives a strong bond, perfect for busy areas or places needing durability.
It creates a stable floor that handles heavy use and moisture.
Take Note:
- Pick a good adhesive made for vinyl flooring.
- Work in small areas so the adhesive stays sticky.
- Use a roller to press planks into the adhesive well.
- Let the adhesive dry fully before walking on or placing items on the floor.
Step 4: Lay the First Row
Trim the Short Edge of the First Plank
First, trim the short edge of the first plank so it fits against the wall. Use a utility knife for a neat cut.
Position the First Plank 1⁄4 Inch from the Wall
Place the first plank 1⁄4 inch away from the wall. This gap allows the floor to expand with temperature and humidity changes. Use spacers to maintain this gap.
Keep Space for Expansion Using Spacers
Place spacers between the planks and walls to keep the 1/4-inch gap. This helps the floor expand and contract without bending.
Offset the End Joints by at Least 6 Inches
To improve appearance and strength, offset the end joints by at least 6 inches. This prevents seams from aligning and creates a natural pattern.
Step 5: Cutting Planks to Fit
Use a Utility Knife to Score and Snap Planks
To cut planks for corners and edges, score with a utility knife. Snap along the line for a clean cut.
For Irregular Cuts
Use a jigsaw or oscillating multi-tool for irregular shapes, like around door frames or pipes. These tools help make precise cuts. Learn how to use a jigsaw here.
Cutting Planks Around Pipes
Measure the pipe and add an inch. Drill a hole in the plank for the pipe size plus one inch, cut to fit around the pipe, and leave a half-inch gap. Use silicone caulk to secure.
For Tight Spaces Like Under Door Jambs
Use a jamb saw to cut planks for tight spaces, such as under door jambs. This tool allows cuts close to the floor for a snug fit.
Step 6: Laying Subsequent Rows
Place the Plank Tongue into the Groove of the Last Row
While adding rows, place the tongue of each plank into the groove of the last row. This keeps them locked together.
Tap with a Block and Soft Hammer
To fit snugly, tap the planks with a tapping block and soft hammer. Avoid using a regular hammer, as it might harm the planks.
Step 7: Finishing the Installation
Install Transition Strips
Once all planks are in place, put transition strips at doorways and between rooms. This improves the look and keeps edges safe. Follow the maker’s instructions to install them.
Transitioning to Other Flooring
Use a T-molding or reducer strip when switching to a new floor type. Attach it to the subfloor, not the vinyl, for strength.
Leave a 1/4-inch gap between the vinyl and strip for movement to avoid buckling.
Reinstall Baseboards
Reattach the baseboards to the wall, not the floor. This allows the floor to move freely.
Allow the Floor to Acclimate for 48 Hours Before Use
Let the floor sit for 48 hours before using or placing furniture. This helps it adjust to the room’s conditions.
Common Things to Avoid When Installing Vinyl Floors
Wet Areas
Vinyl plank flooring is not good for very wet areas, like bathrooms. Water can seep into seams and cause damage.
Using Tools on Planks
Don’t hit planks with a rubber mallet or hammer. Use a tapping block to avoid damage during setup.
End Joints in Rows
Don’t overlap end joints of planks in rows. This makes the floor weak and uneven.
Acclimation Period
Avoid walking on the floor during the 48-hour acclimation period. This helps the floor settle and ensures durability.
Tips for a Successful Vinyl Flooring Installation
- First, measure the room to find out how much flooring you need. Add 10% extra for cuts and waste.
- Inspect each plank before you start, and discard any damaged ones. This ensures it looks great.
- Use a knee pad for comfort while working. It protects your knees and makes the job easier.
- Take your time and be careful to prevent mistakes. Moving too quickly can lead to errors and a less professional look.
Installation Costs for Vinyl Plank Flooring
Installing vinyl plank flooring has varied costs based on the method:
- Peel-and-stick: Costs range from $1.50 to $8 per square foot.
- Glue-down: Typically $2.50 to $12.50 per square foot.
- Floating/Interlocking: Usually $3 to $13 per square foot.
Labor costs are $1 to $3 per square foot, depending on the job’s complexity.
Other expenses might include underlayment at $0.50 to $1.00 per square foot, and transition strips and trim, which are $1 to $5 per linear foot, for a tidy finish.
Do You Need Professional Help With Your Vinyl Flooring Installation Project?
Now that you know how to lay vinyl plank flooring, you’re set to create a nice and strong floor. If you’d rather have experts handle it, we’re here to assist you.
Our flooring installation team can manage everything — from preparing the subfloor to laying the planks just right — so you can relax and enjoy excellent results. We’ll help you choose the best vinyl flooring for your home, whether it’s luxury vinyl plank or sheet vinyl.
Contact us today to arrange your free in-home consultation and see if we cover your area.